
Tables in Outlook
To create a table:
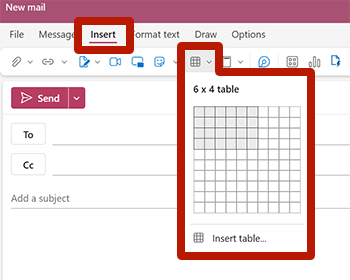
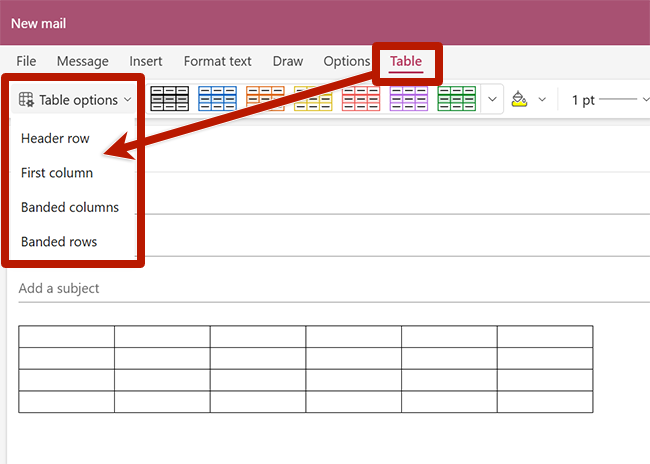
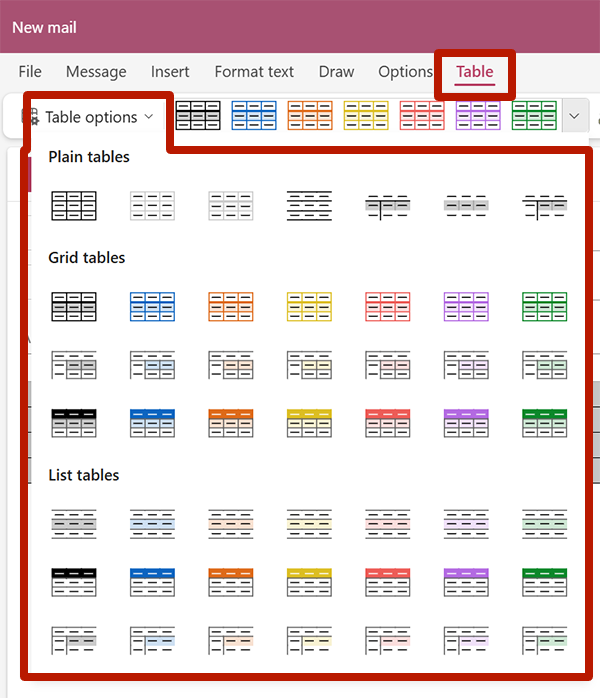
Select the Insert tab, choose Table and select the number of rows and columns you would like. Select the table in the message to reveal a Table tab where you can manage table headers and styles. The Table options button includes settings for table headers.
- To specify the first row as headers, select Header row.
- To specify the first column as headers, select First column.
- Modify colors using the Table styles gallery to ensure strong color contrast.
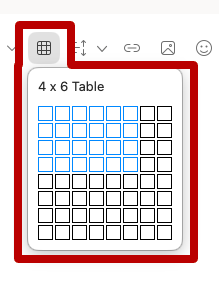
- Select the Table button from the formatting menu. Depending on your toolbar configuration, this may available by selecting the three dots ("See more items") button.
- Choose the number of rows and columns you would like.
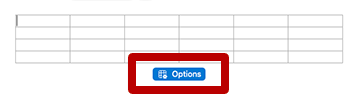
- Place your cursor in the table.
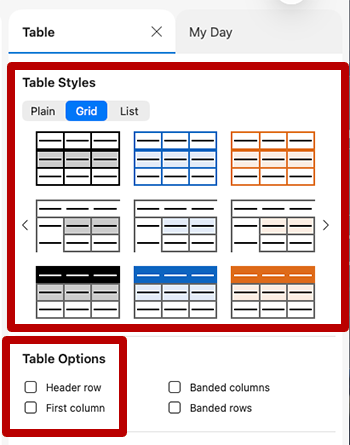
- Select the floating Options menu to open the Table panel, where you can manage table headers and styles.
- To specify the first row as headers, select Header row.
- To specify the first column as headers, select First column.
- Modify colors using the Table Styles gallery to ensure strong color contrast.